
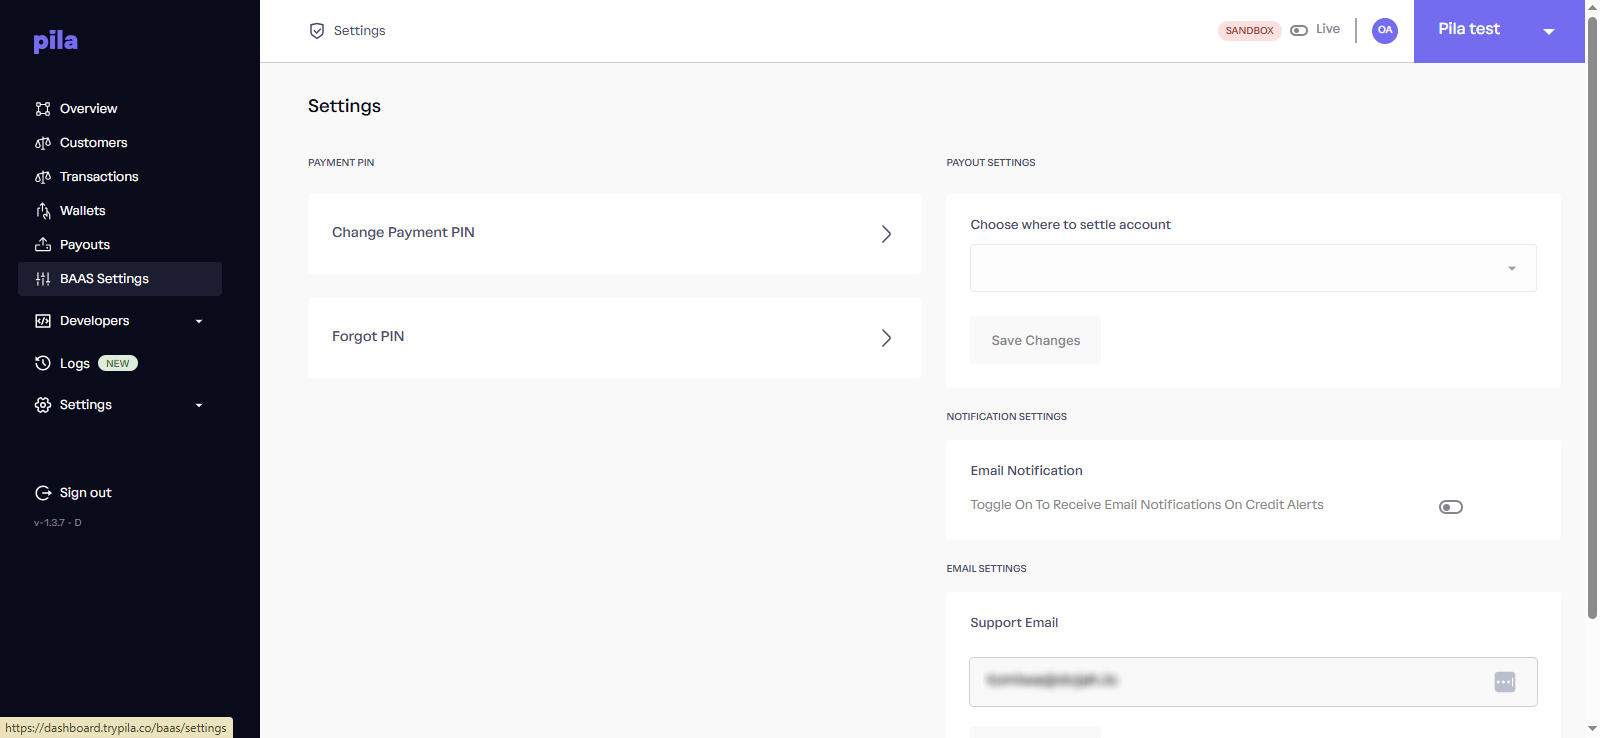
The business Settings page
Change your payment PIN
Your payment PIN authorises money leaving your account.1
Open Change Payment PIN
Under Payment PIN, select Change Payment PIN.
2
Enter your current PIN
In the Current PIN field.
3
Enter the new PIN twice
In New PIN and again in Confirm New PIN.
4
Confirm
Select Confirm PIN Change. The button becomes active once all three fields are filled.
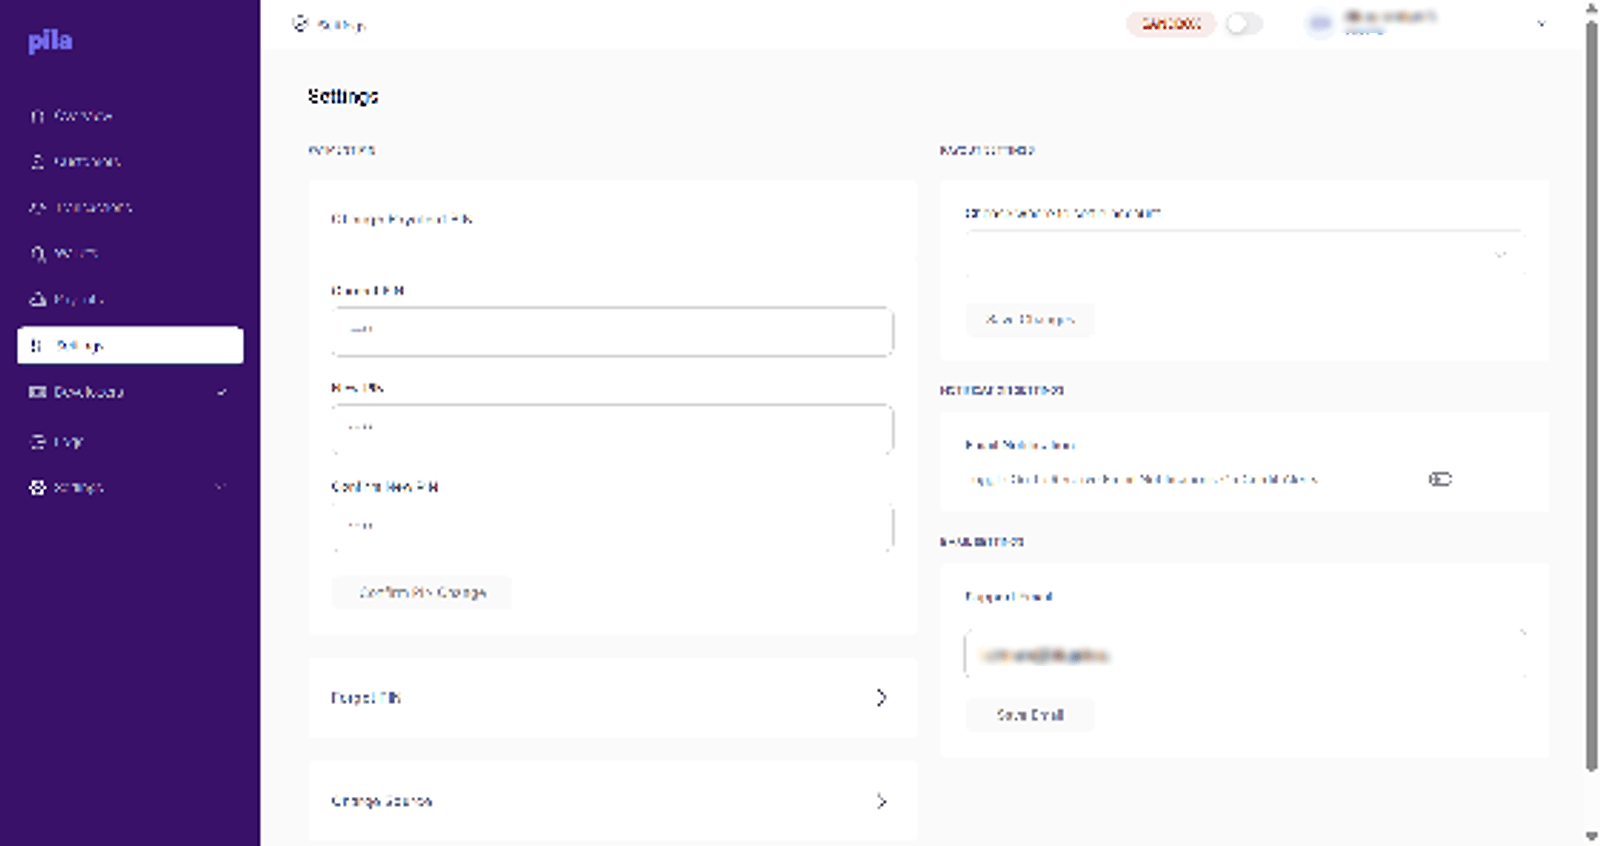
Changing your payment PIN
Forgot your PIN
1
Expand Forgot PIN
Select Forgot PIN.
2
Reset it
Select Reset PIN and follow the prompts to set a new one.
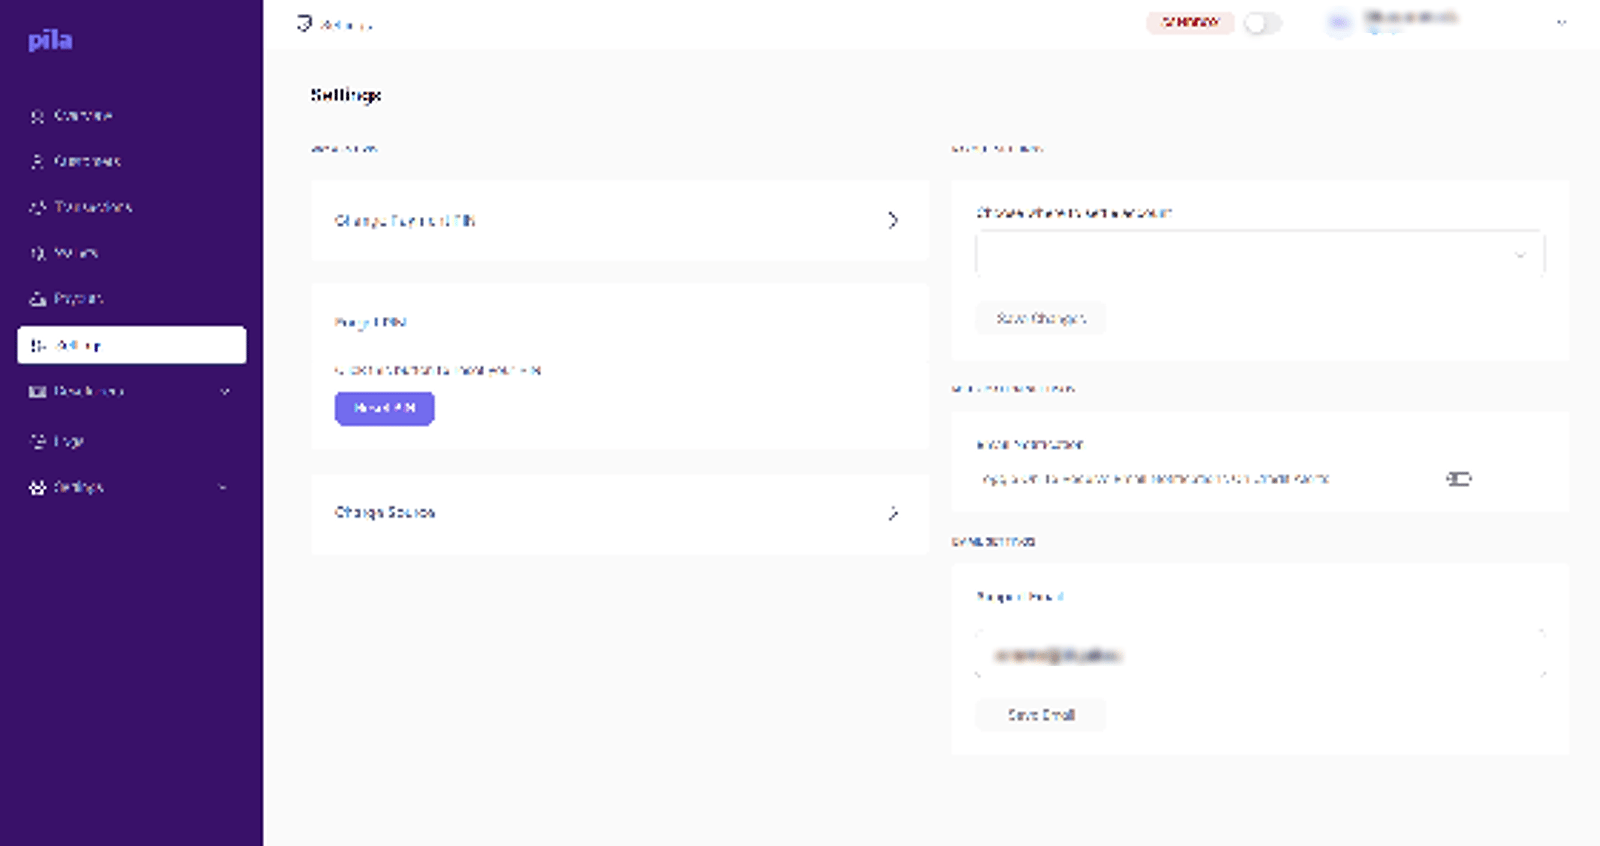
Resetting a forgotten PIN
Charge source
Charge source decides where Pila takes its fees from. Select Charge Source and choose an option.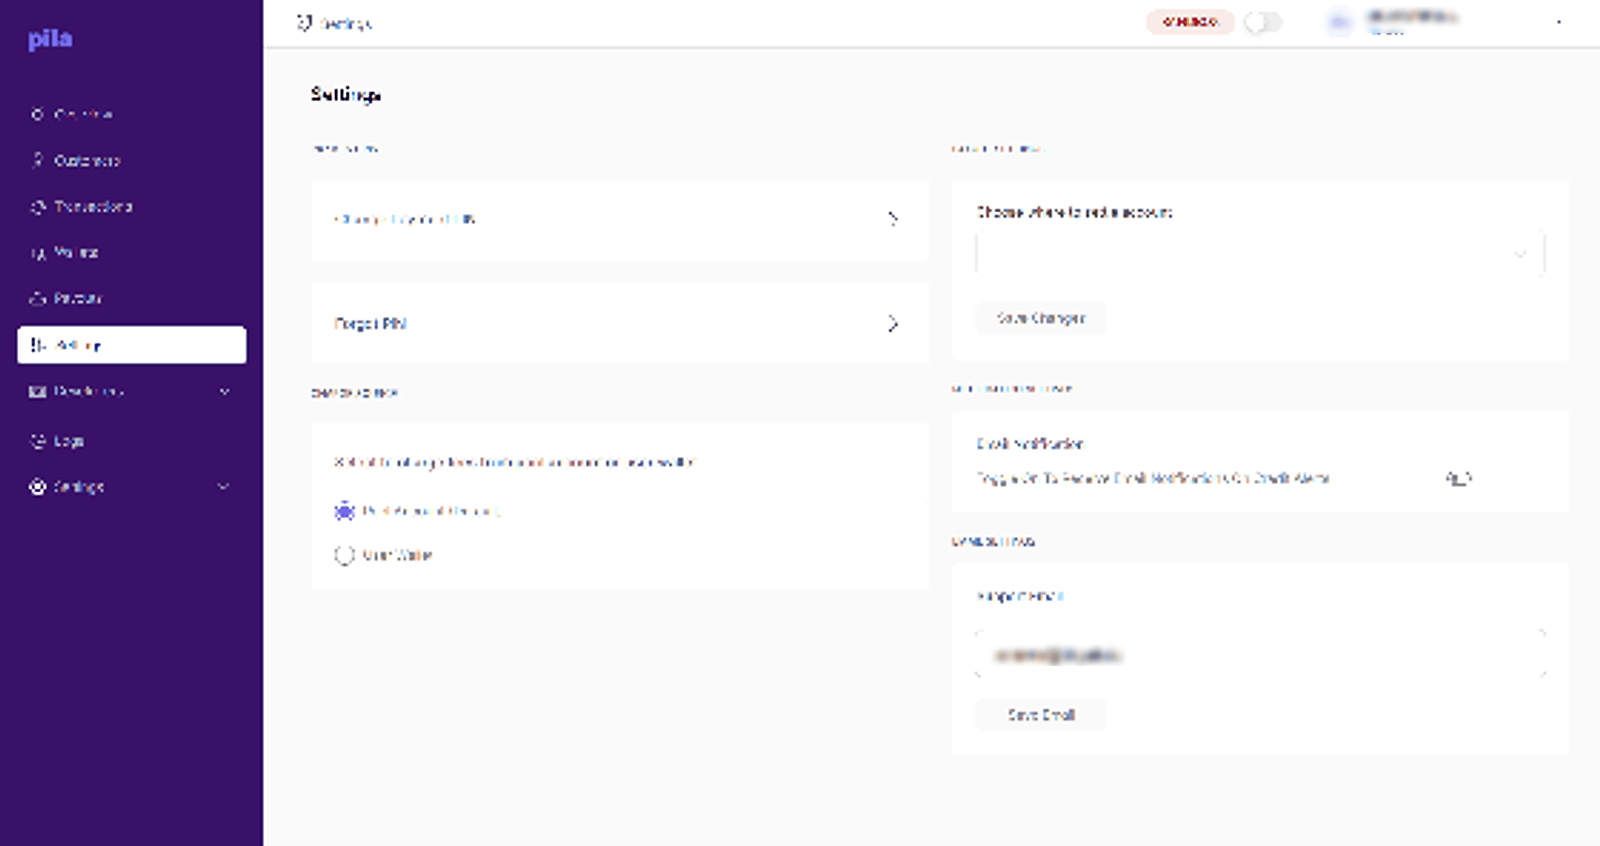
Choosing where fees are charged
If you switch to User Wallet, fees will reduce your customers’ balances. Tell them before you change it.
Settlement account
1
Open the setting
Under Payout Settings, open Choose where to settle account.
2
Pick an account
Choose the account you want settlements paid into.
3
Save
Select Save Changes.
If settlement is unset, collections accumulate in your Pila balance instead of sweeping to your bank. That is fine if you are funding payouts from the same pool — just make it a deliberate choice.
Credit alerts
Under Notification Settings, turn on Email Notification to get an email each time money is credited. Turn it off to stop them. To choose which team members get balance alerts, see Email notifications.Support email
Under Email Settings, enter the address your team monitors in Support Email, then select Save Email. Use a shared inbox, not a personal address.Checklist before going live
1
Set a payment PIN
Manual transfers will not go through without one.
2
Choose a charge source
Decide whether fees come from your pool account or from customer wallets.
3
Choose a settlement account
Decide whether collections sweep to your bank or stay in your Pila balance.
4
Set a monitored support email
A shared inbox your team actually watches.
5
Subscribe your live webhooks
Configured separately from sandbox. See Webhooks.