> ## Documentation Index
> Fetch the complete documentation index at: https://api-docs.trypila.co/llms.txt
> Use this file to discover all available pages before exploring further.
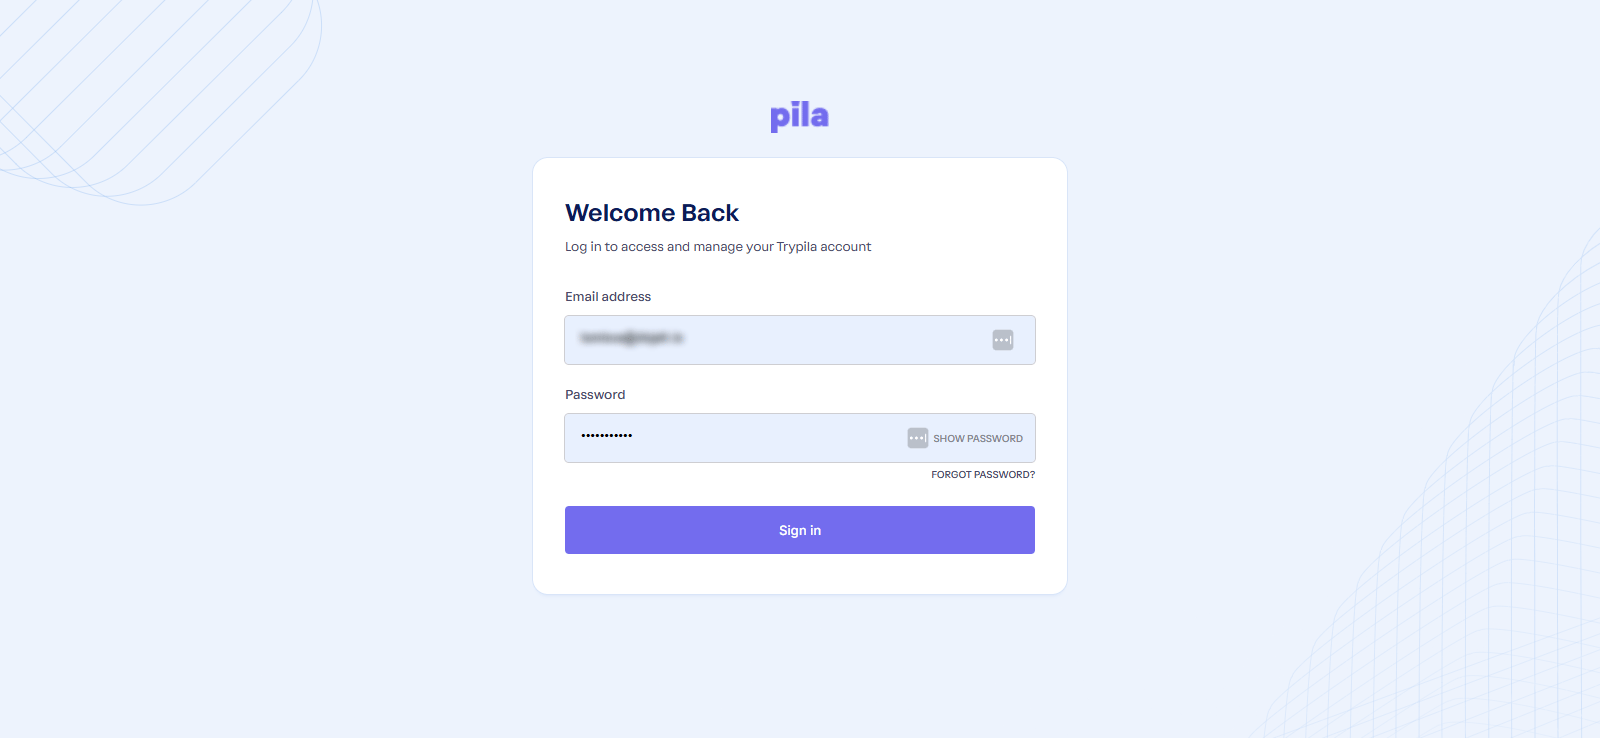
# Sign in
> Get into the Pila dashboard and find your way around the environment switcher.
The dashboard is where you get your API keys, watch money move, and manage your account.
Go to [dashboard.trypila.co](https://dashboard.trypila.co/).
Use the address your Pila account was created with.
You land on the **Overview** page.
 ## Sandbox and live
Every page shows a **SANDBOX / Live** badge and switch in the top bar. It controls which mode's data you are looking at — balances, wallets, transactions, API keys and webhooks are all separate between the two.
While you are awaiting activation, you can build in sandbox straight away using your `AppId` and sandbox keys. Live access opens once your company verification and SLA are complete — see [Company verification](/dashboard-guide/account/company-verification).
## Next
The sidebar, the top bar, and the patterns that repeat on every screen.
Get the `AppId` and keys every API call needs.
This documentation is built and hosted on [Mintlify](https://mintlify.com), a developer documentation platform.
## Sandbox and live
Every page shows a **SANDBOX / Live** badge and switch in the top bar. It controls which mode's data you are looking at — balances, wallets, transactions, API keys and webhooks are all separate between the two.
While you are awaiting activation, you can build in sandbox straight away using your `AppId` and sandbox keys. Live access opens once your company verification and SLA are complete — see [Company verification](/dashboard-guide/account/company-verification).
## Next
The sidebar, the top bar, and the patterns that repeat on every screen.
Get the `AppId` and keys every API call needs.
This documentation is built and hosted on [Mintlify](https://mintlify.com), a developer documentation platform.